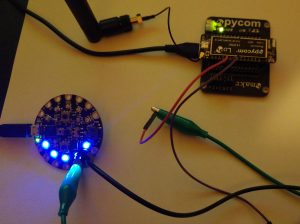
 One of the challenges left with regards to the LoPy was to find a way to actually connect sensors to the node. I had little luck with the DHT11 temperature/moisture sensor (one of the drawbacks of MicroPython over regular Arduino code is the lack of libraries) and didn’t have any I2C sensors lying around. But I did of course still had the Circuit Playground by Adafruit and I knew how to talk to that one from another device using the hardware serial RX/TX connection because I had already connected it to a micro:bit that way (the posts are here, but in Dutch).
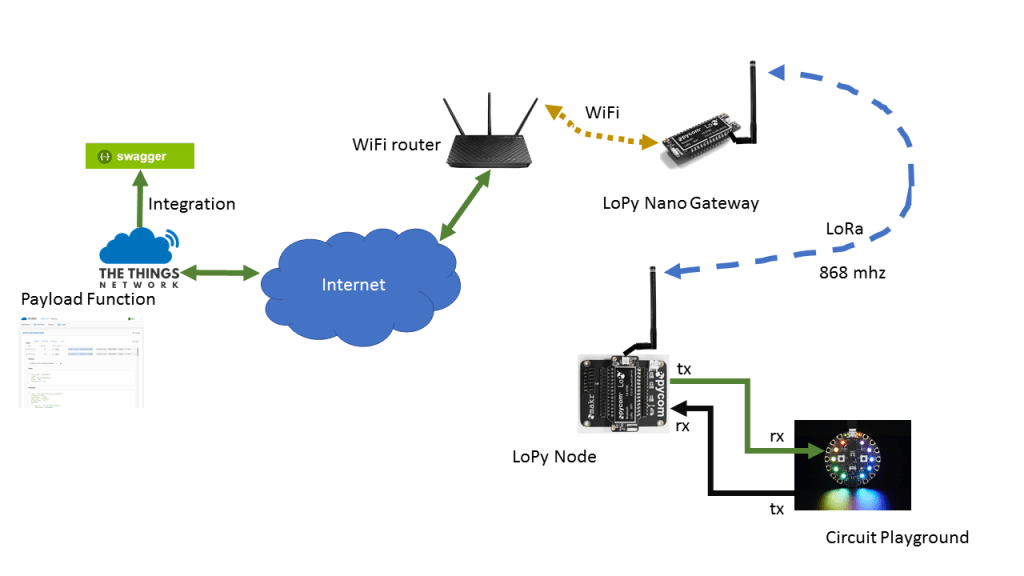 So surely it should be possible to connect it to a LoPy and send the sensor data to The Things Network (TTN) that way? Is was. Not as easy and simple as I had hoped, but in the end it worked. Since it is rather a complex structure, I made a small graphic to explain how all the parts go together.
Let’s start with the easy parts: I have got a LoPy Nano Gateway up and running. That is not a full compliant LoRaWAN gateway, but it takes care of receiving messages send via LoRa / 868 Mhz and relaying them, via WiFi, via my WiFi Router, the internet, to the The Things Network (TTN) backend. That is the regular part.
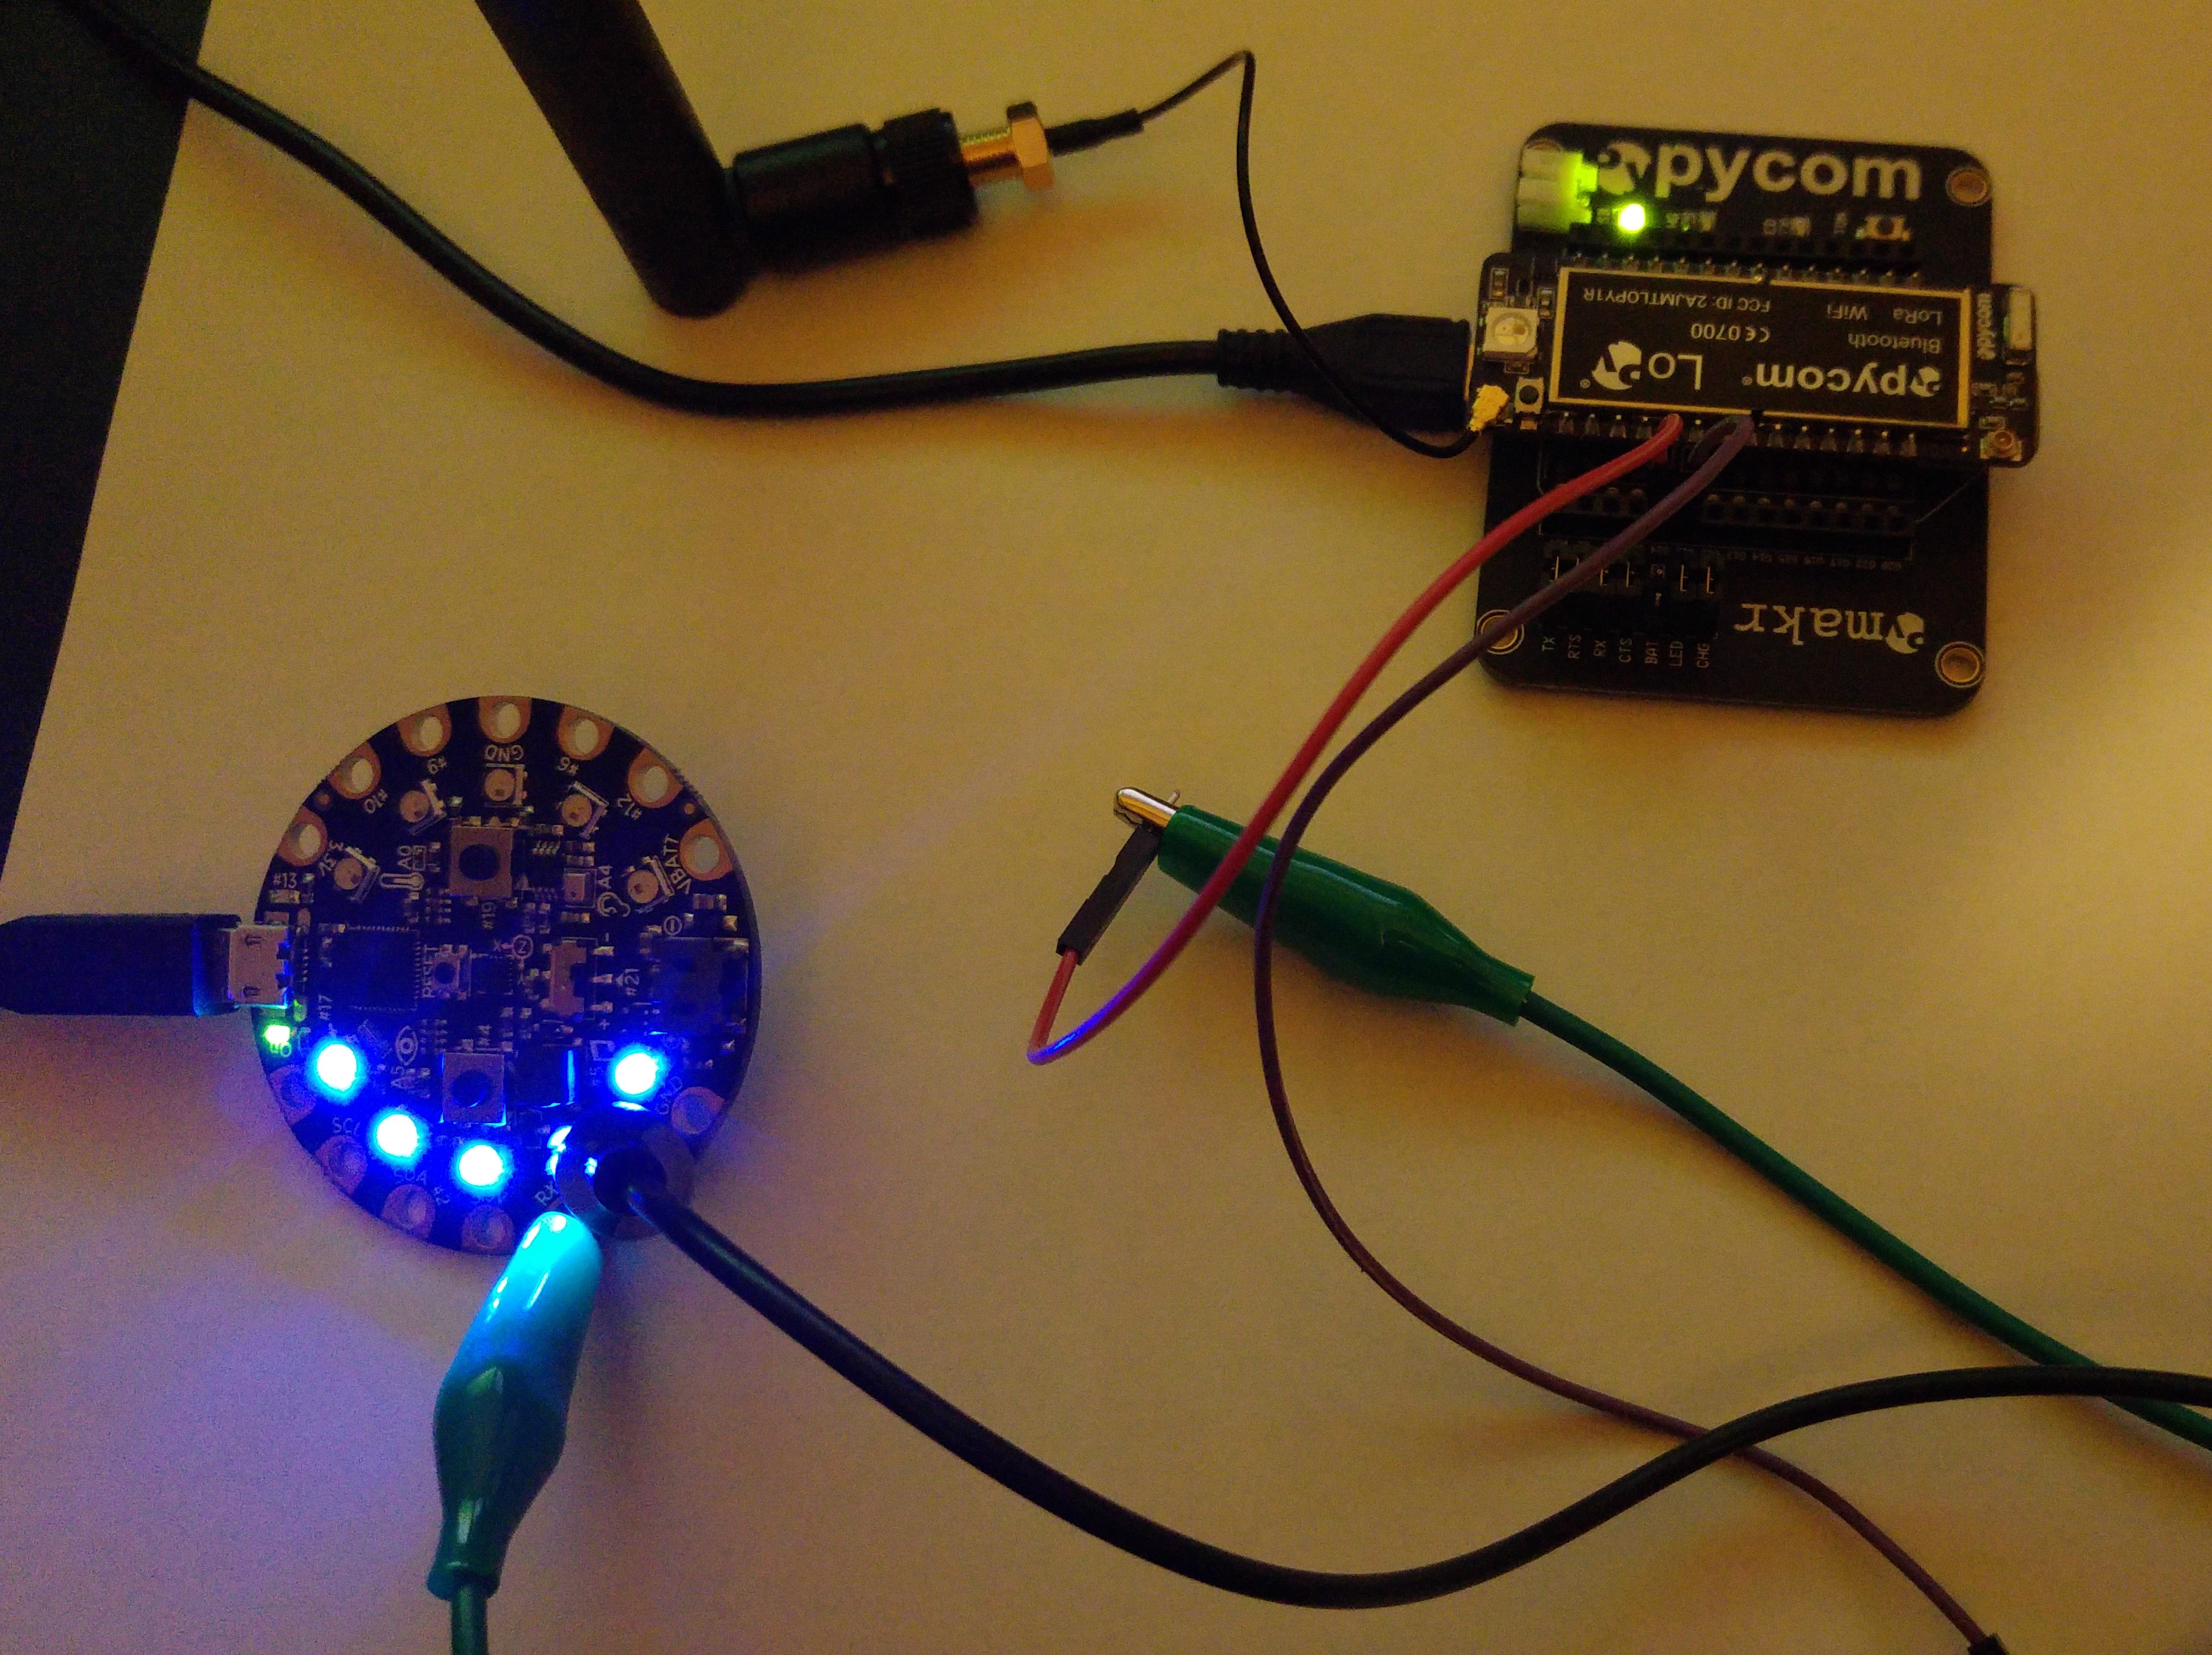
On the right end lower corner, the action starts with the LoPy Node. It is connected via two cables to the Circuit Playground (CPG). One cable goes from the TX port of the LoPy Node to the RX port of the CPG. The other one goes from the TX port of the CPG to the RX port of the LoPy Node. The LoPy Node sends a signal (a digit ranging from 1 to 10) over the serial connection to the CPG. After the CPG receives the signal, it reads the three build in sensors for light, noise and temperature. It then converts the values to a 12 byte HEX string value and sends that back over the serial connection toe the LoPy Node. After sending the signal, the LoPy node waits a bit, giving the CPG time to return the value, then it reads the values and sends that via LoRa to the first available gateway, in this case the LoPy Nano Gateway on my desk.
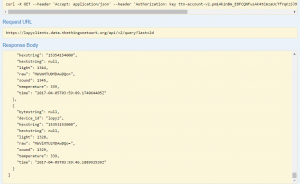
After the gateway has delivered the messages to TTN, a Payload function translates the received value back into three individual values. It then send them, via the Integrations option, to the Swagger server where it the is available in JSON format. See, easy peasy. 🙂
I uploaded all the code to Github. You can find it here. The code in the LoPy-flash folder is (of course) intended for the LoPy Node, the code in the Circuit Playground folder needs to be uploaded to the CPG via the regular Arduino IDE. I made some changes to the LoPy node code provided by Pycom: I added the option to have the LoPy Node also connect to your local WiFi. Not necessary, but it makes it easier to debug/connect. If you leave that info blank, it will just ignore. Also, if you take the node outside of the range of you WiFi network, it will just ignore it. Another thing that I changed, is the use of config.py for the Node, so that you only need 1 place to change all the info. Finally I choose OTAA instead of ABP as the authentication for the node.
The code for the Payload Function is:
function Decoder(bytes, port) {
var decoded = {};
var str = ”;
for (var i = 0; i < bytes.length-2; i += 1)
str += (bytes[i] – 48 ) ;
decoded.raw = bytes;
decoded.hexstring = str;
decoded.temperature = parseInt(str.substring(0, 3), 16);
decoded.sound = parseInt(str.substring(3, 6), 16);
decoded.light = parseInt(str.substring(6, 9), 16);
return decoded;
}
The result, 4x faster than real looks like this:
Speed x4. Green blink = message sent to @thethingsntwrk blue = counter on Circuit Playground to keep track of the requests by #LoPy pic.twitter.com/0QZbweShbx
— Pierre Gorissen (@PeterMcAllister) April 4, 2017
Totally useless gimmick is that the CPG lights up the 10 NeoPixels one by one, counting up to 10 and then resetting again so you can see the requests being made. The LoPy Node flashes a green light after each LoRa transmission.
Funny detail in Swagger is that if you change the values/labels of the object that you store, it still keeps the old ones also, but just doesn’t add values to them anymore. You can seen from the screenshot above, that I made a typo “hextstring” instead of “hexstring”. I changed it after values had been stored with the incorrect label, so Swagger keeps that info around and creates a new field with the correct name/label.
