 Since this is a rather technical post, I’ll do it in English, increasing the chance of people being able to use it a lot.
Recently I bought a number of smart power plugs, sold via Amazon (.de) and produced by Avatar. Note that they sell 2 different types: the ones with and without power measurement. Strangely enough, at the moment the ones with power measurement are slightly cheaper even than the ones without power measurement. Just make sure you buy the ones you expect to buy (I didn’t and ended up with 8 plugs that don’t measure power, I’ll put them to good use, but would have rather have those also measure power consumption of the devices connected to them).
The plugs are being advertised as being controllable by Alexa, Google Home and IFTTT. That is nice, but I want Tasmota on them so that I can easily connect them via MQTT to Home Assistant (or any other home automation system that I choose to use) and so that I can make 100% sure that they don’t have to / cannot connect to the outside internet.
To do that I use the Tuya-convert tool to add the Tasmota firmware (note: warrenty voided once you do, if you follow these instructions, you’re on your own, I can’t help you if you brick your plug or if it doesn’t work, this is just a post describing how I got it to work) to the plug so I can control them from Home Assistant (and via the webserver on the plug provided by Tasmota). Because I needed to configure a total of 8 plugs, I also used decode-config to make it a bit easier (quicker) to do (although it probably took more time to figure out the tool for this first time than it would have to just do it by hand).
Flashing Tasmota unto the plugs
As often is the case: the Tuya-convert tool exploits a vulnerability in the original firmware of the plug to work. You could see that as a potential security risk. I don’t. It requires physical access to the plugs, which is unlikely for an external hacker, and because I flash them with Tasmota *and* limit their access to the local intranet, outside hacking risks are minimal. It is however possible that Avatar fixes the exploit in a future version of the plugs and then the Tuya-convert tool might stop working.
So it is important that you flash the plugs straight out of the box. Do not install the official app (which I consider a bonus), just use the plugs as is.
Requirements: A Raspberry Pi.
The script is tested on a Pi 3B / 3B+ / 4B, I used one of my old Pi’s 1 Model B with the latest OS flashed to it and a cheap Wifi adapter connected to it.
Important is that you have 2 ways of connecting to it, so in my case both the wired network connection and the Wifi connection. The convert tool will use the Wifi adapter to create an access point that the plugs connect to. If you’re connected to the Pi via WiFi and SSH, that connection wil be terminated. So make sure you connect via SSH and the wired connection.
Then first follow the installation steps for tuya-convert:
# git clone https://github.com/ct-Open-Source/tuya-convert
# cd tuya-convert
# ./install_prereq.sh
It is possible that you have to install git first.
After that has been done, make sure you’ve got a smartphone available to connect to the access point created by Tuya-convert. I don’t know for sure, but I’m guessing it is doing some kind of “man in the middle” attack where the plug thinks it that the official app is trying to connect to the plug (simulated by the phone) while it actually is the tool. Either way, once you have the phone available, you can execute ./start_flash.sh. The video below shows the process:

After the first initialization (when it says Press ENTER to continue) you have to first do the 2 steps mentioned there:
1. connect your phone (or any other Wifi capable device) to the access point named “vtrust-flash”
2. put the device is pairing mode, for the plug it means plugging it into a power socket and then press the button a couple of seconds, it will start blinking rapidly
Then press ENTER.
The tool wil first make a backup of the existing firmware, this enables you to undo the flashing of the firmware. After that you get the option to flash Espurna or Tasmota (or put the original firmware back on the plug).
The total process takes about 3 minutes, a bit less for the consecutive plugs, the script will ask you if you want to flash more devices once it has finished so that you don’t need to reconnect your phone or restart the script. Really nice.
I did this for all 8 plugs before I proceeded to the next step: setting up Tasmota
Setting up Tasmota


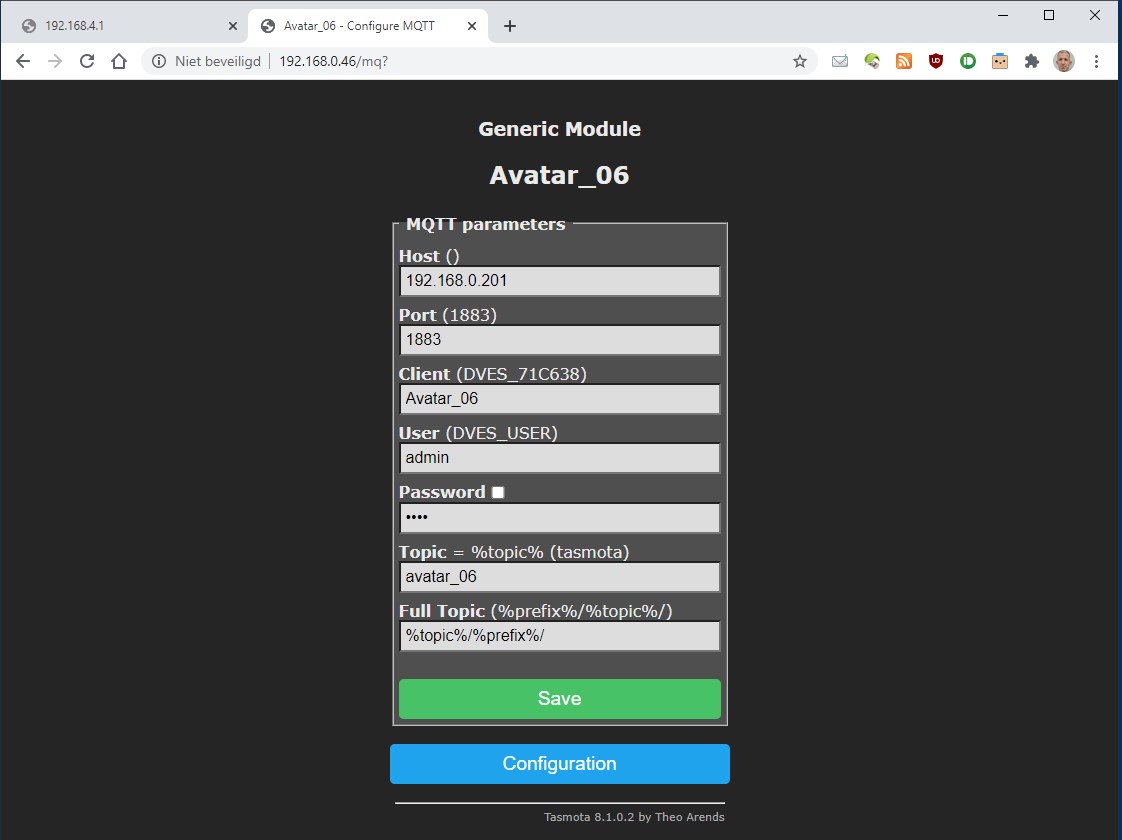
After you’ve flashed the plug or plugs, you’ll have to setup the Tasmota firmware that you flashed unto the plug. It does not know how to connect to your WiFi network at home, doesn’t know about you MQTT server and all plugs have the same name and a generic setup (Tasmota can be flashed to devices with different options).
Doing it by hand takes some steps because the plug will restart after every step. I did one plug by hand and then used the open source decode-config tool (and some trial and error) to create a .json file which had all the needed modifications so that I could upload that to each new plug. By default Tasmota allows you to backup the configuration, but it does so using a binary file, meaning you can’t easily change it by hand. All my plugs needed the same setup, but a different name in a number of places (friendlyname, hostname, mqqt_client, mqtt_topic). With the decode-config tool you can download the config in .json format and upload config files in .json format. Nice feature is that you only need to upload the stuff that is changed, not the complete file.
The file I used looks like the image you see here:

The steps that I took:
- I used Debian on Windows Subsystem for Linux to install the decode-config tool. I plugged the cheap Wifi adapter into my desktop so that I could connect to Wifi.
- I installed Python 3.x using
sudo apt-get install python3 python3-pip
and then install the dependencies:python -m pip install requests configargparse - Finally I downloaded the source code from github and unzipped it. I use the python version of the script.
Dowloading the .json from a plug that I had setup already is easy (once I figured it out). The command:
$ python3 decode-config.py -d 192.168.0.45 --json-indent 4 -o /mnt/d/Temp/Tasmota/Avatar_05_config.jsonwill create a .json file with all the setup features. I did this for a plug that already was setup and one that wasn’t to learn which features were different.
There was one feature that puzzled me a bit, the plug that was setup also had "templatename": "AWP07L" but the script deemed that deprecated and refuses to upload it. It means that in the end, a final setting needed to be changed on each plug, being the selection of the user-template as the active template. It did work afterwards though when I used it to change the templatename.
But first things first, I created a .json file for each of the plugs, the only thing different being the name of the plug, which I could change with a simple search/replace in notepad++
The file above is for the plug named Avatar_12, so I would call the file Avatar_12_config_delta.jsonI can then plugin the plug I wanted to setup, because it did not have the WiFi setup, it creates an accesspoint, named Tasmota-xxxx
With my desktop I connect to that network and then from Debian execute the command:
$ python3 decode-config.py -d 192.168.4.1 -i Avatar_12_config_delta.json
Note that because I’m directly connected to the plug, I know that the IP always is going to be 192.168.4.1After the command has completed, you can disconnect the plug, plug it in again and find it on your router. My router shows the name of devices connected, so this plug would be Avatar_12. I also have the option to then fix the IP-address that the plug gets, so it is easier to find them afterwards. You could e.g. use 192.168.1.1 – 192.168.1.12 as the range for your plugs 01 – 12.
In the router I then also disable internet access for the plug.
Then I reboot the plug again and connect to it via the IP that I’ve assigned to it. In the plug I need to
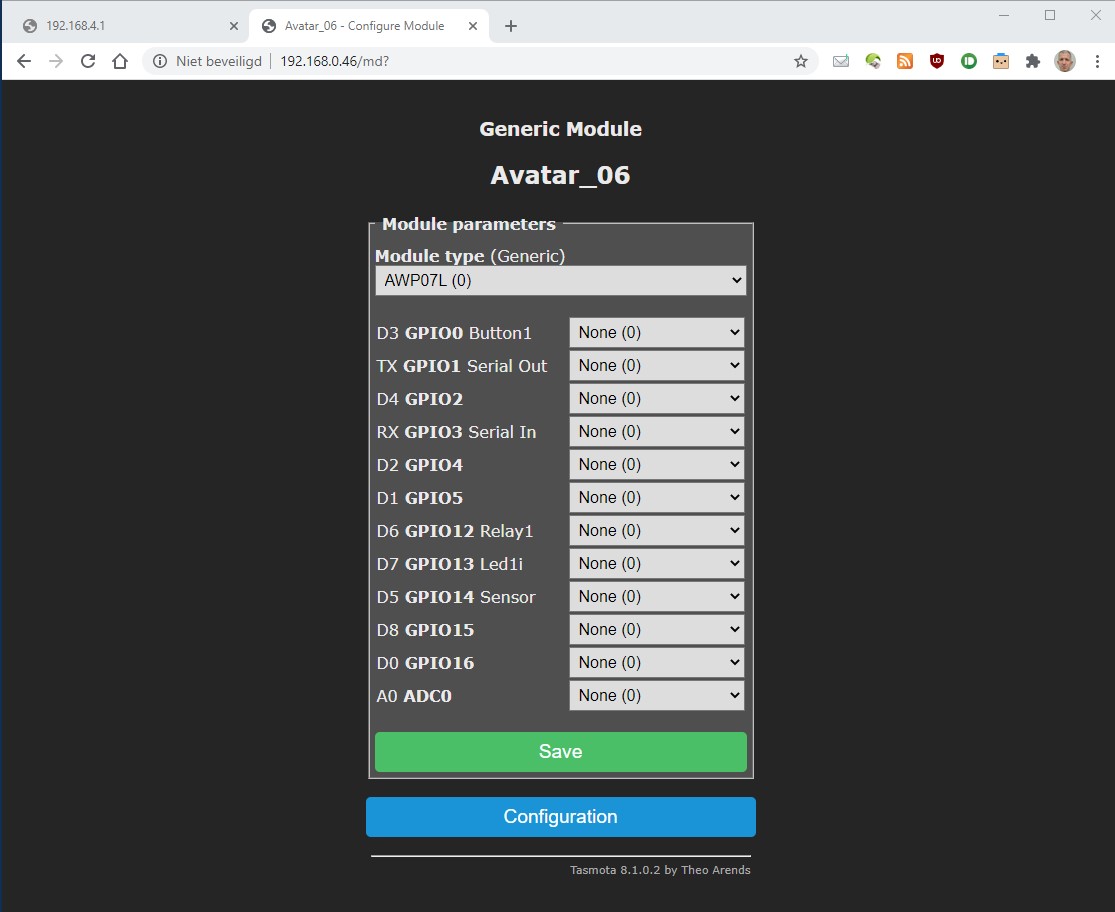
Select Configuration
Select Configure Module
Select AWP07L as the template
Save the setup
Like I mentioned in the beginning, I had accidentally ordered plugs without power measurement, these use a different template (AWP08L). Again, I only changed it on a single plug, then downloaded the .json for the setup and looked at the change for the user_template:

Because this part of the json didn’t contain any plug-specific parts, updating them was easy:
$ python3 decode-config.py -d 192.168.0.52 -i Avatar_AWP08L_template.json --cmnd-use-backlogjust changing the ip-address for each plug was enough.
I did set the ntp-server during the initial setup, but somehow it didn’t stick. The extra flag makes sure that Home Assistant can autodiscover the plugs.
One final step I took for the plugs was to update the firmware that was uploaded to it.
Installing TasmoAdmin
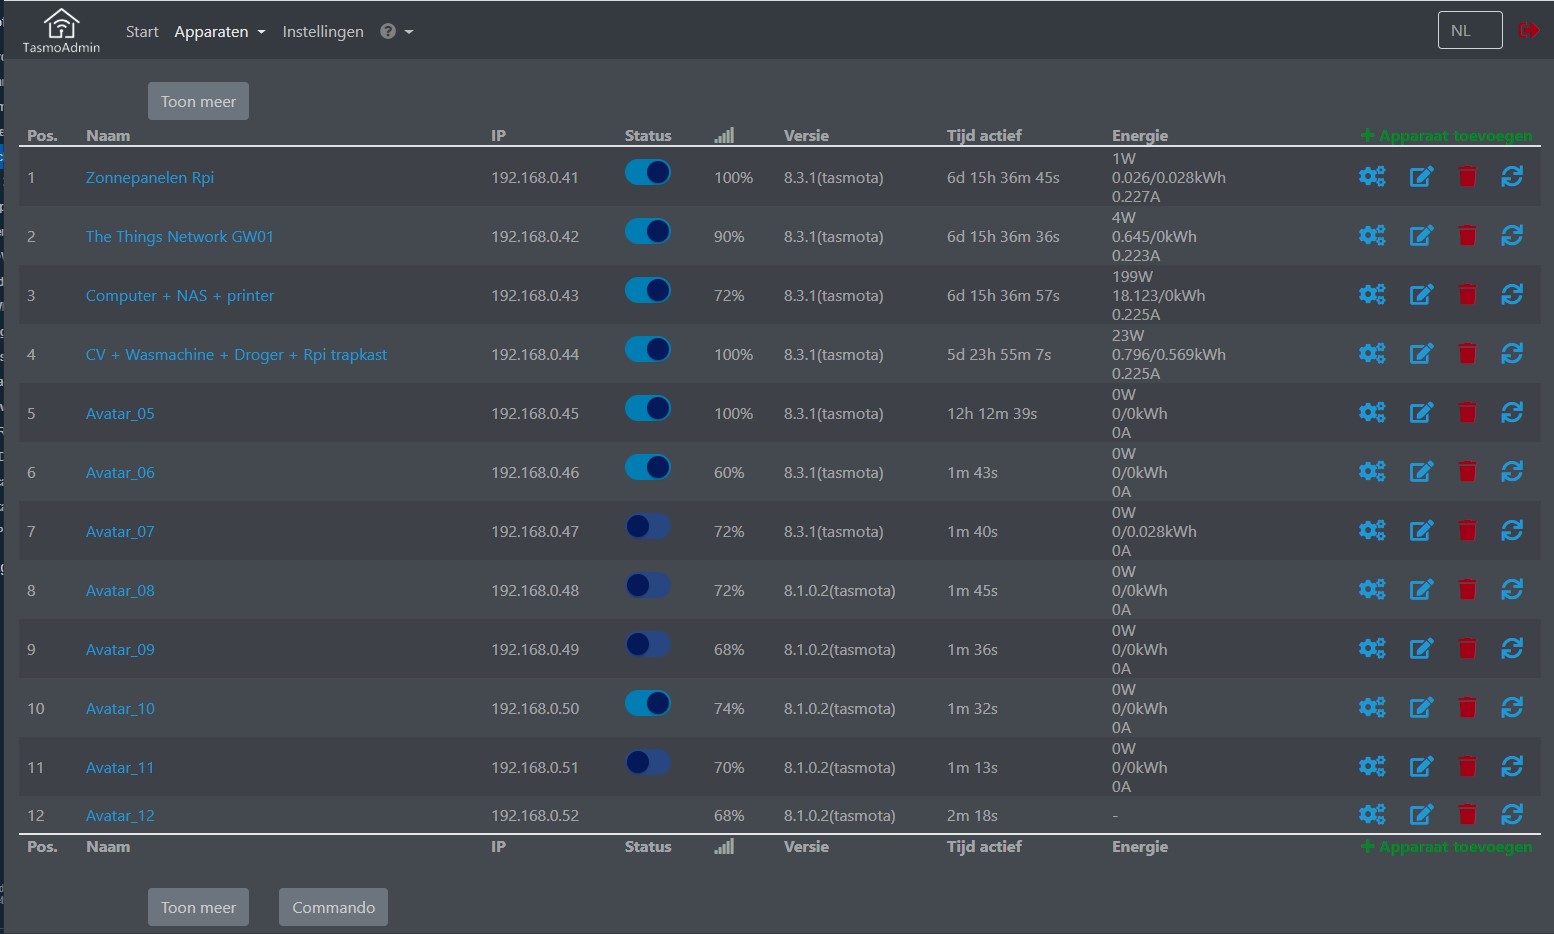
Work is almost done. Now all that needs to be done is adding the plugs to Home Assistant. Because the plugs use MQTT, it is relatively straightforward to read the power consumption etc. as regular MQTT sensors. Because the plugs use Tasmota, I figured I also wanted to use TasmoAdmin a plugin specifically for Tasmota devices.
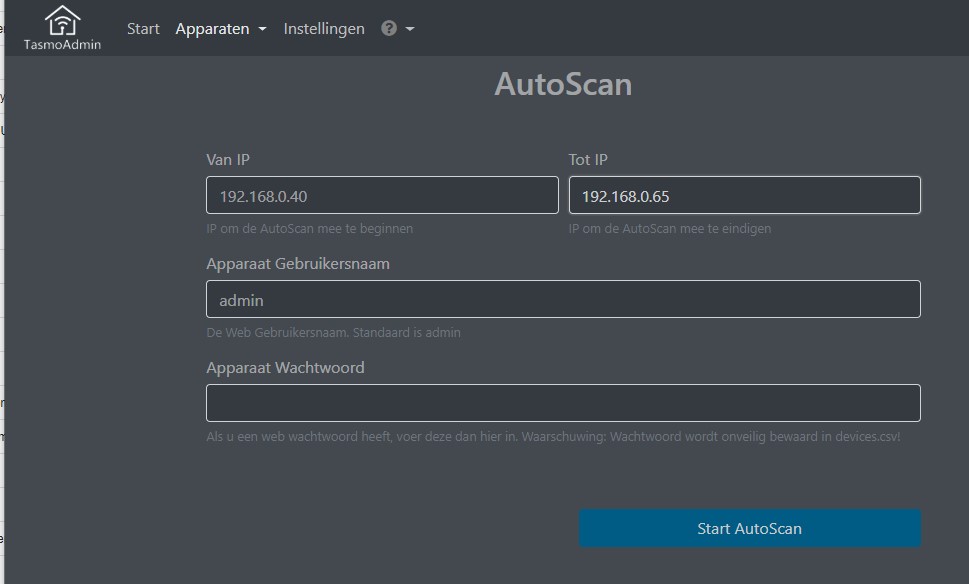
It has an autoscan feature where it looks on your network for available devices and then adds them to an overview screen. In the screenshot above, the new plugs still have the incorrect template active, so TasmoAdmin thinks they can also provide power measurement info. After running the update for AWP08L it no longer was displayed.
You can provide a username and password to restrict access to TasmoAdmin.
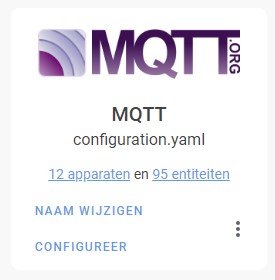
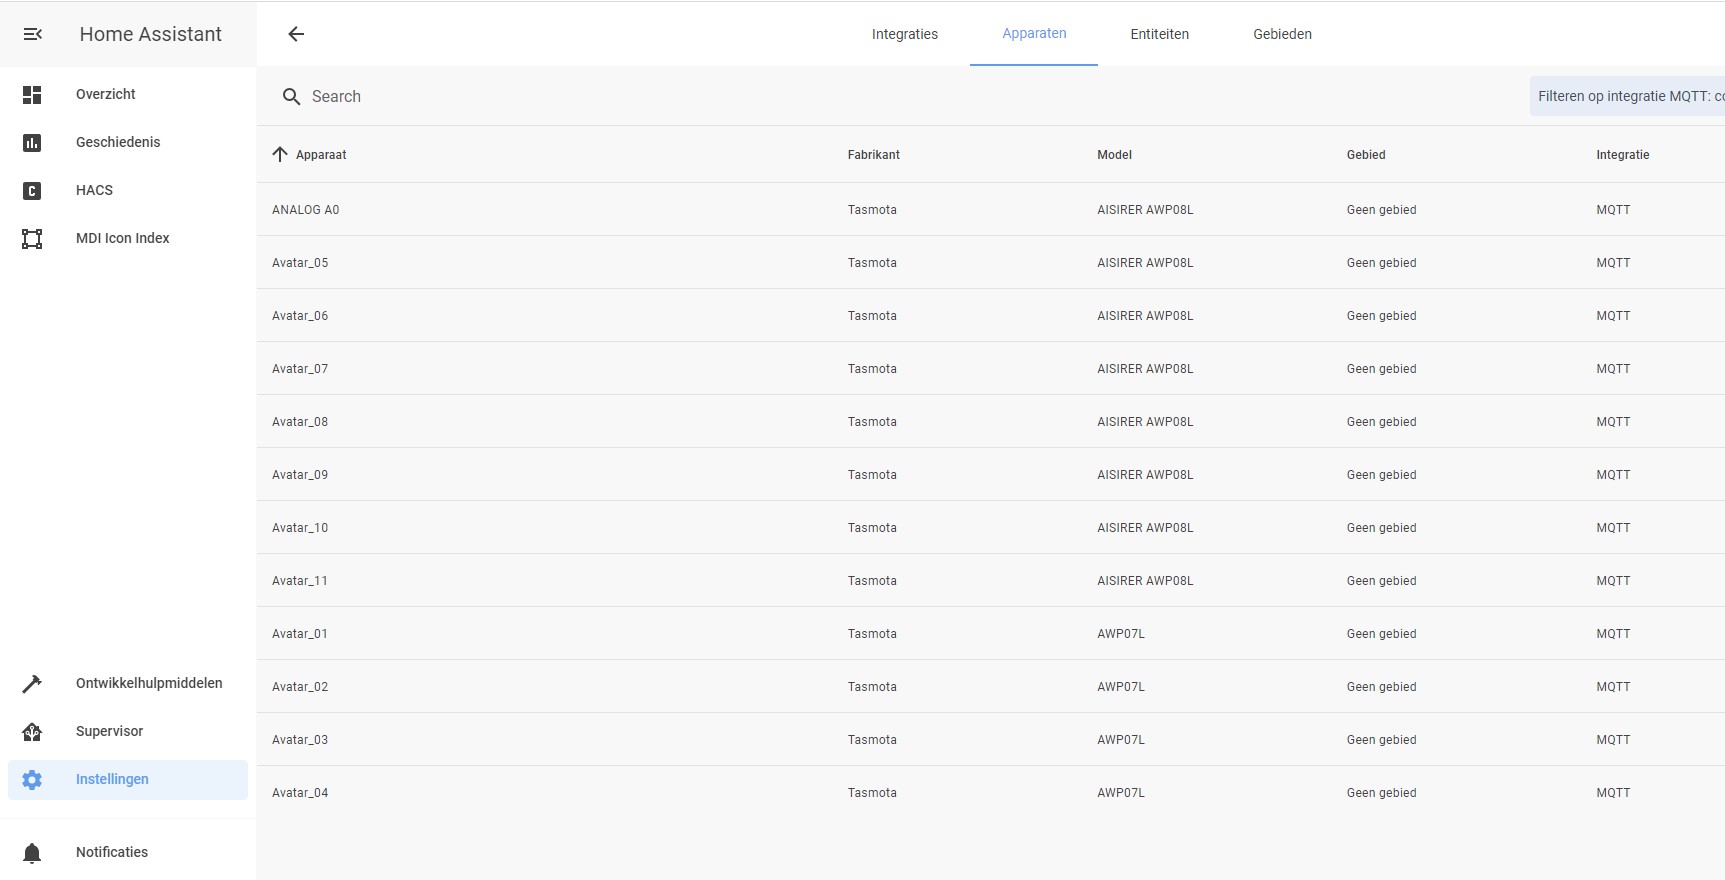
Within Home Assistant I’ve set MQTT to autodiscovery and in the settings and integrations, the plugs show up making is also easy to add then from there to the dashboard.
Finishing Touches
Because all the plugs look identical from the outside, it helps to name/number them. If you’ve got a vinyl-cutter around, it is very easy to make your own custom stickers and use those.
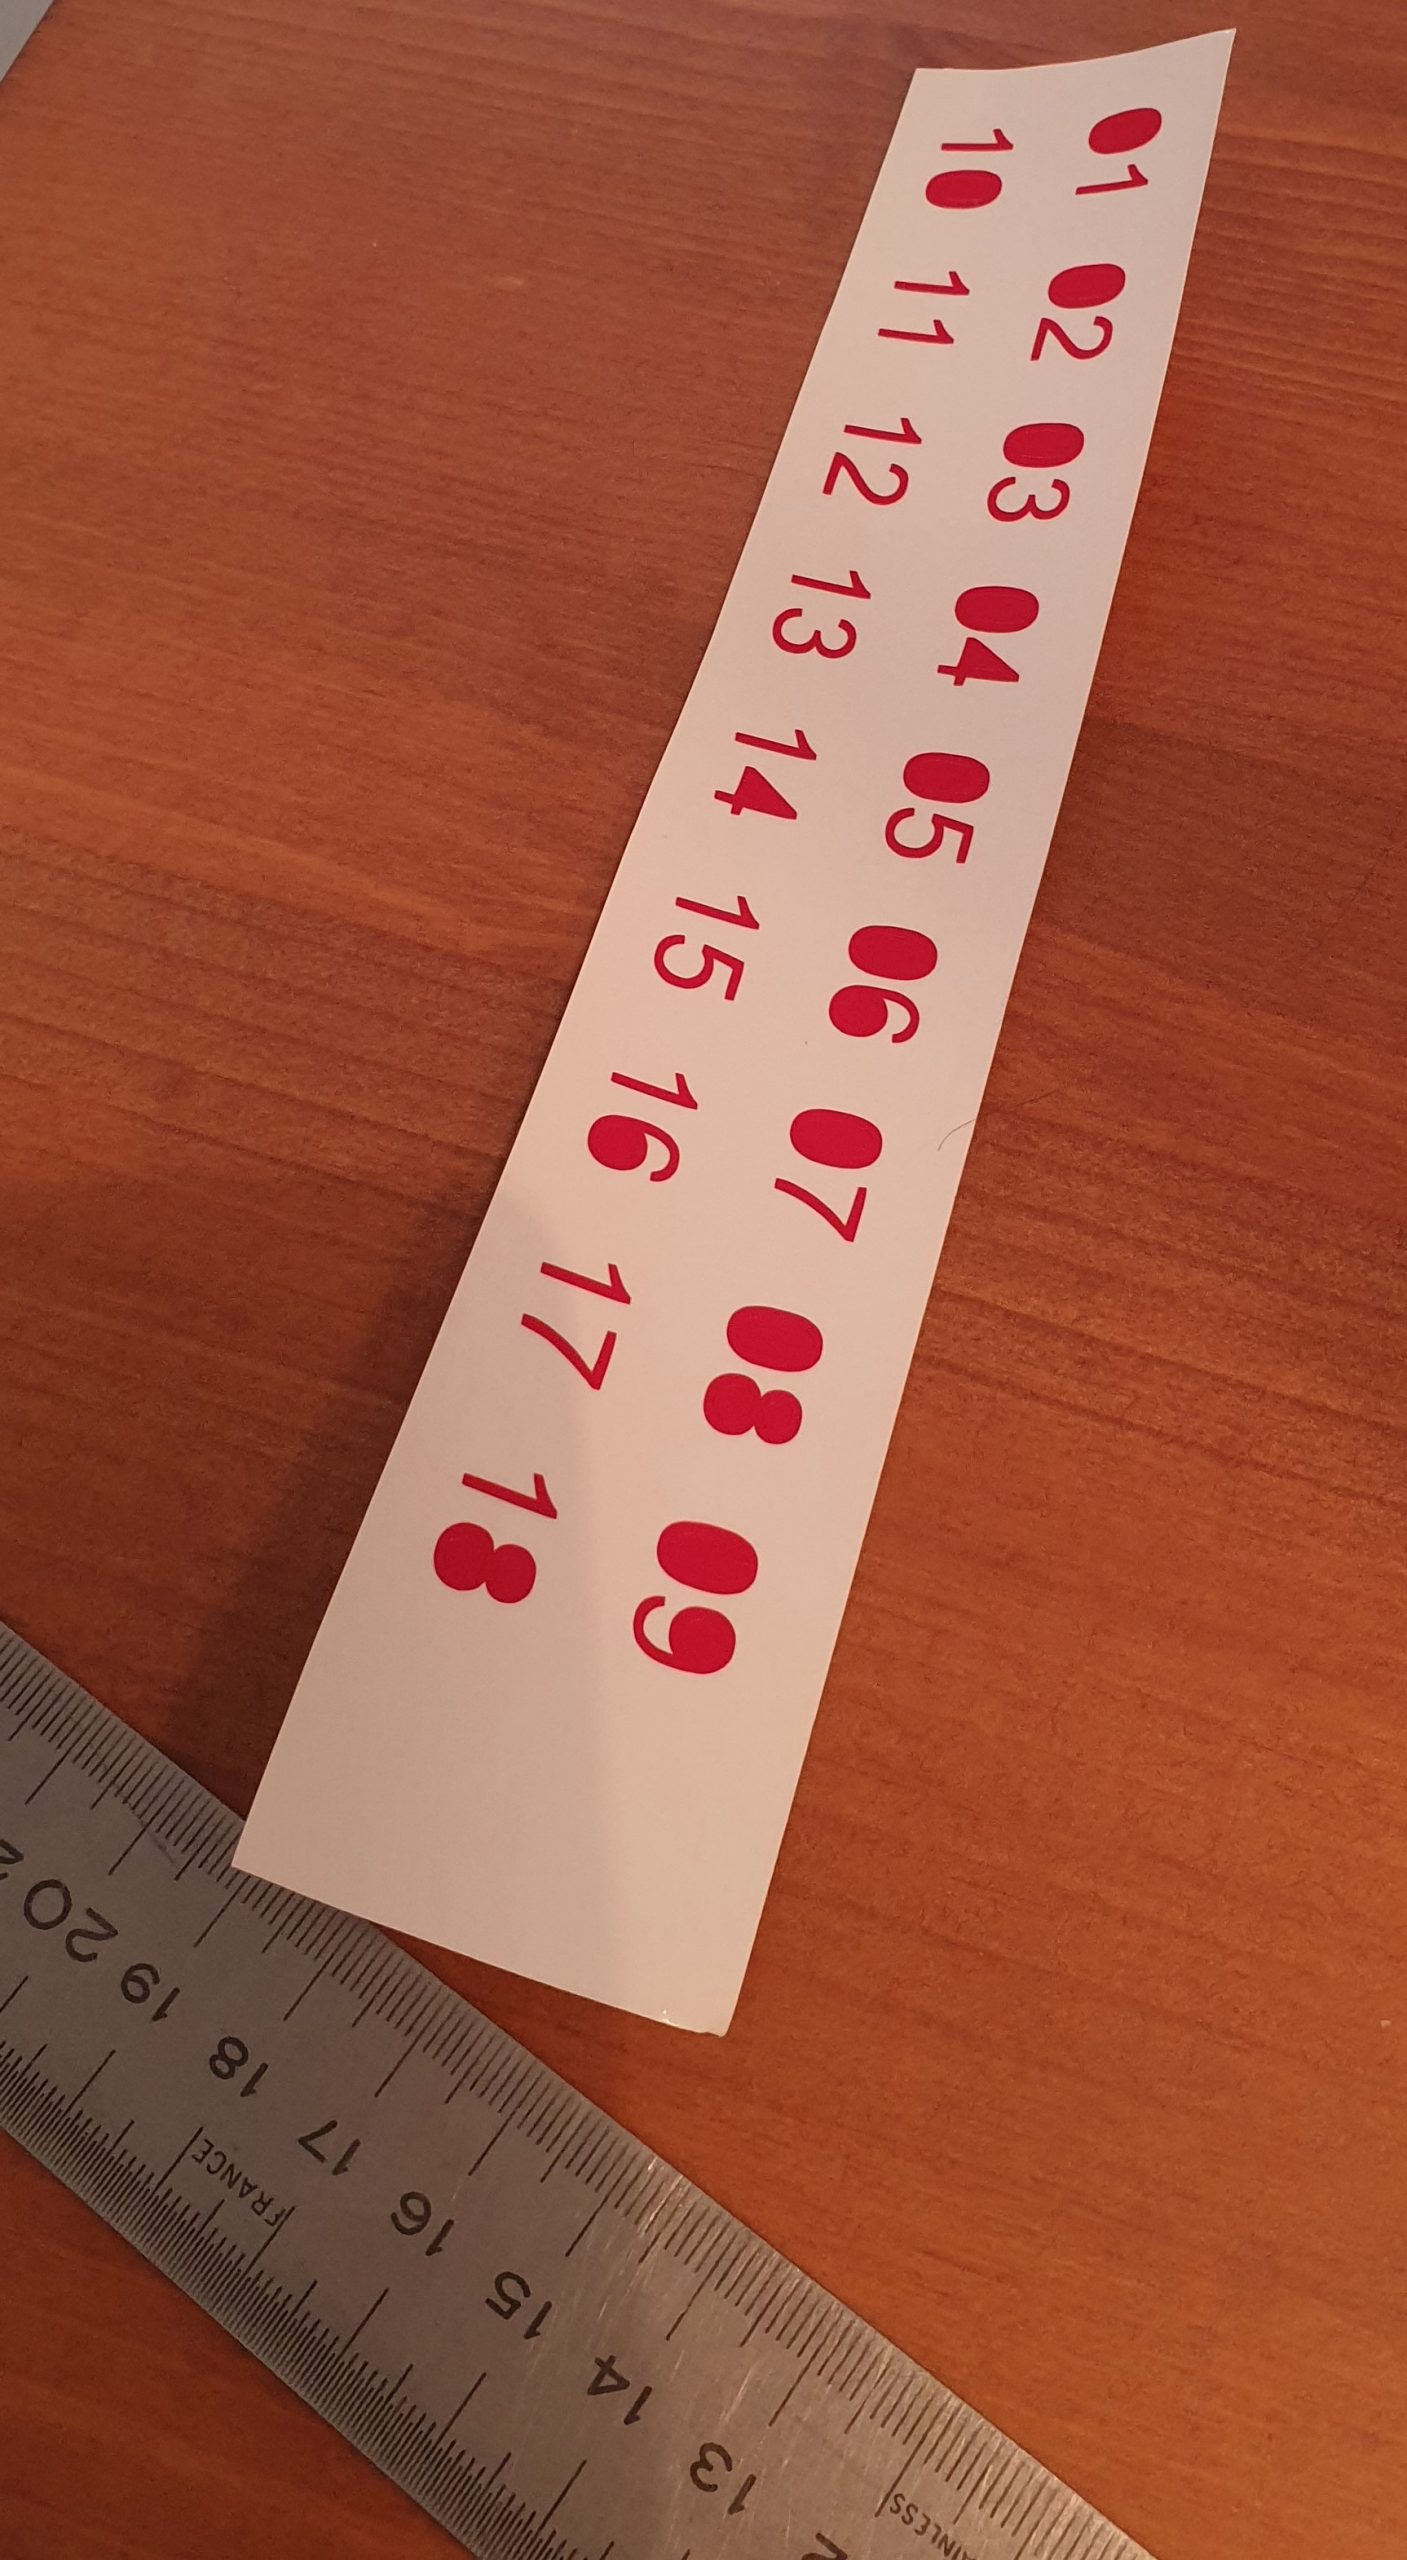
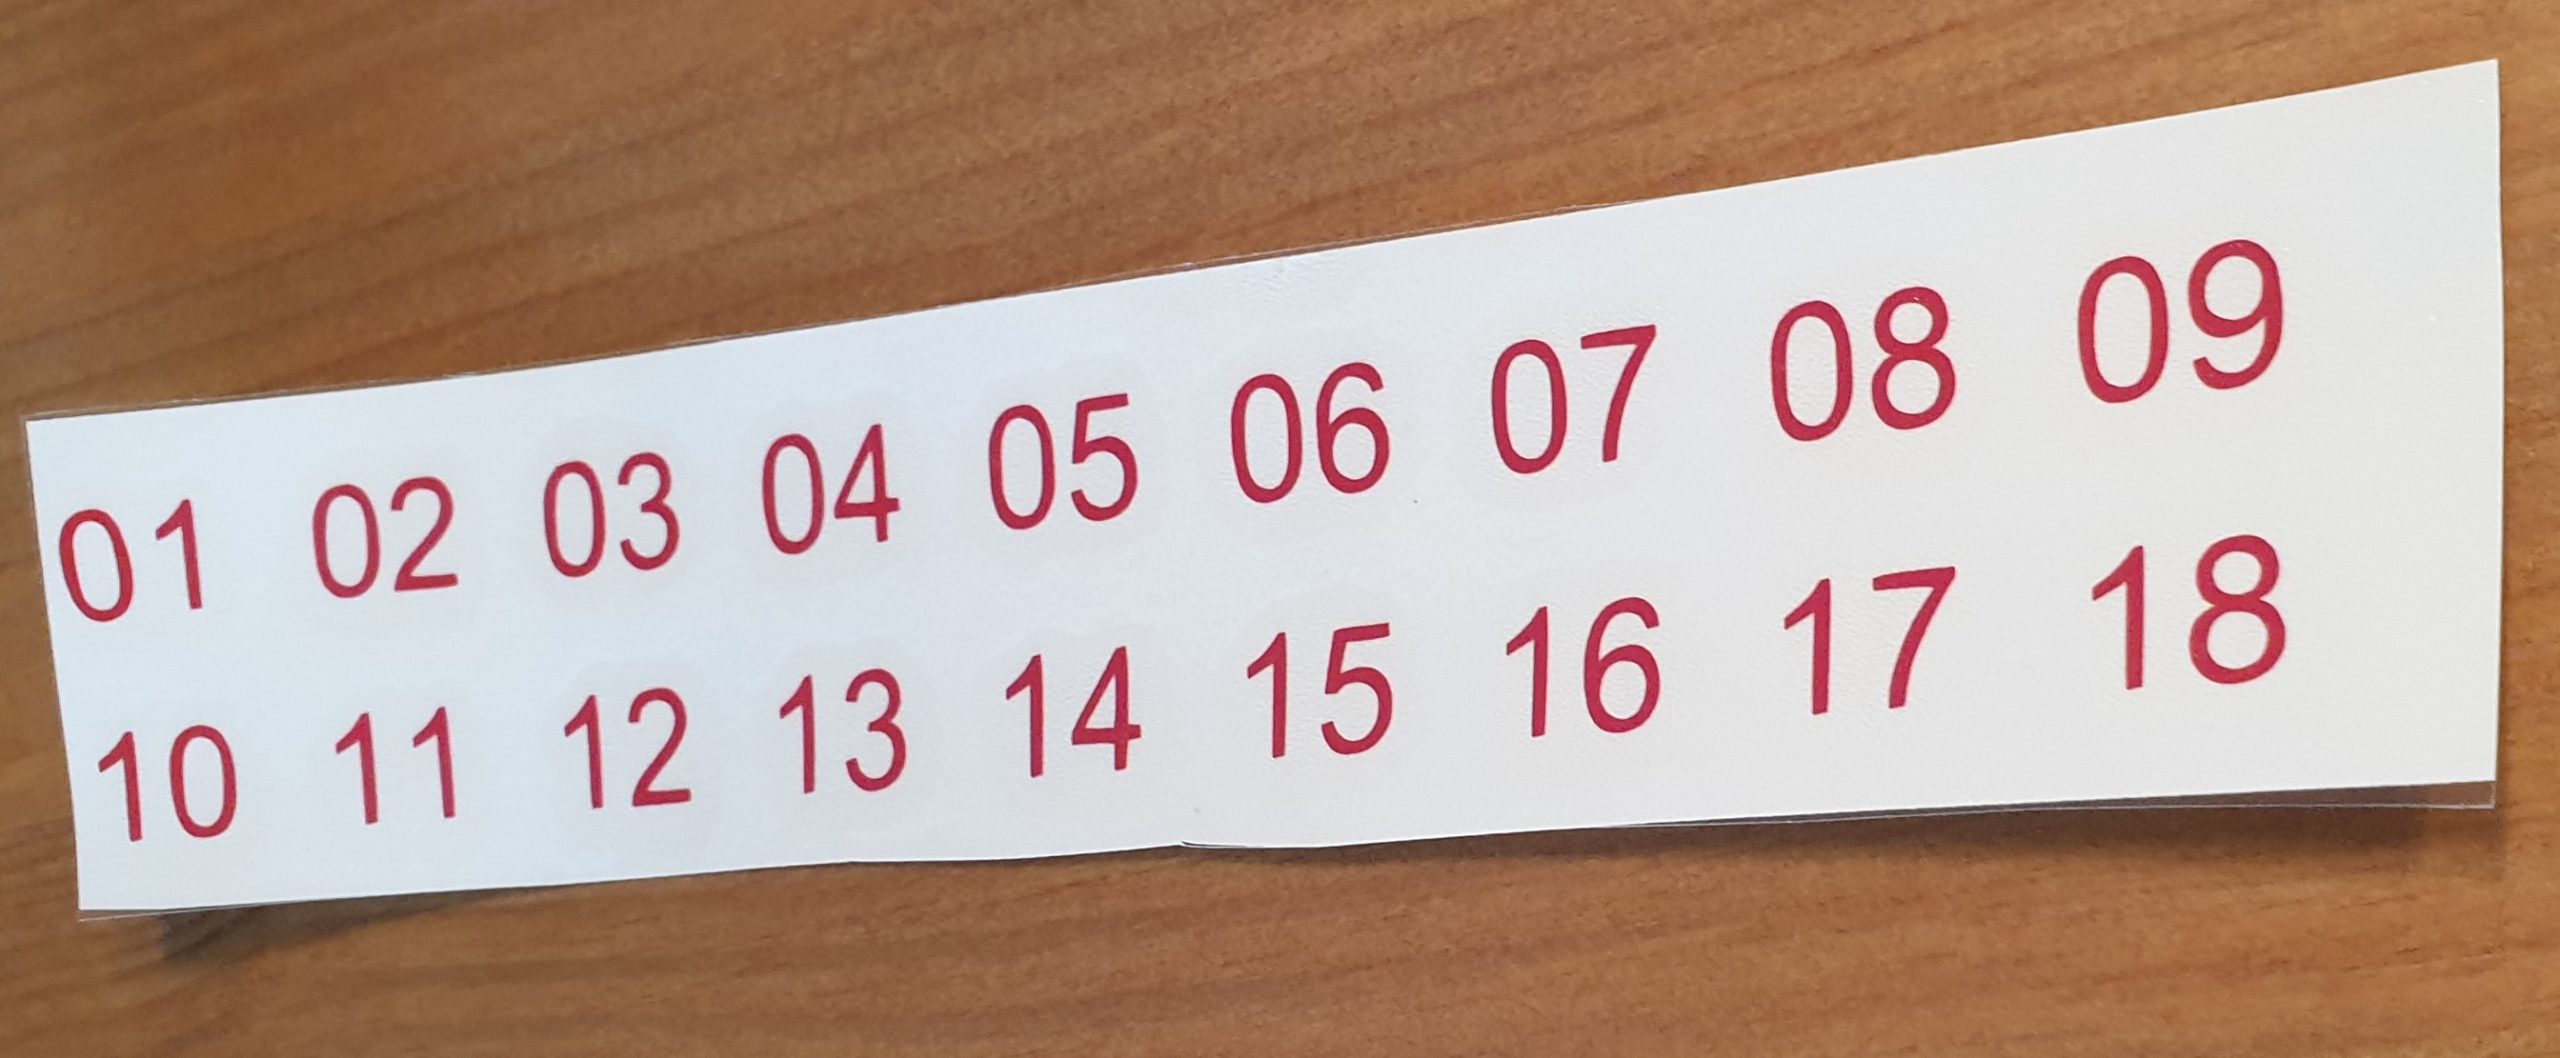
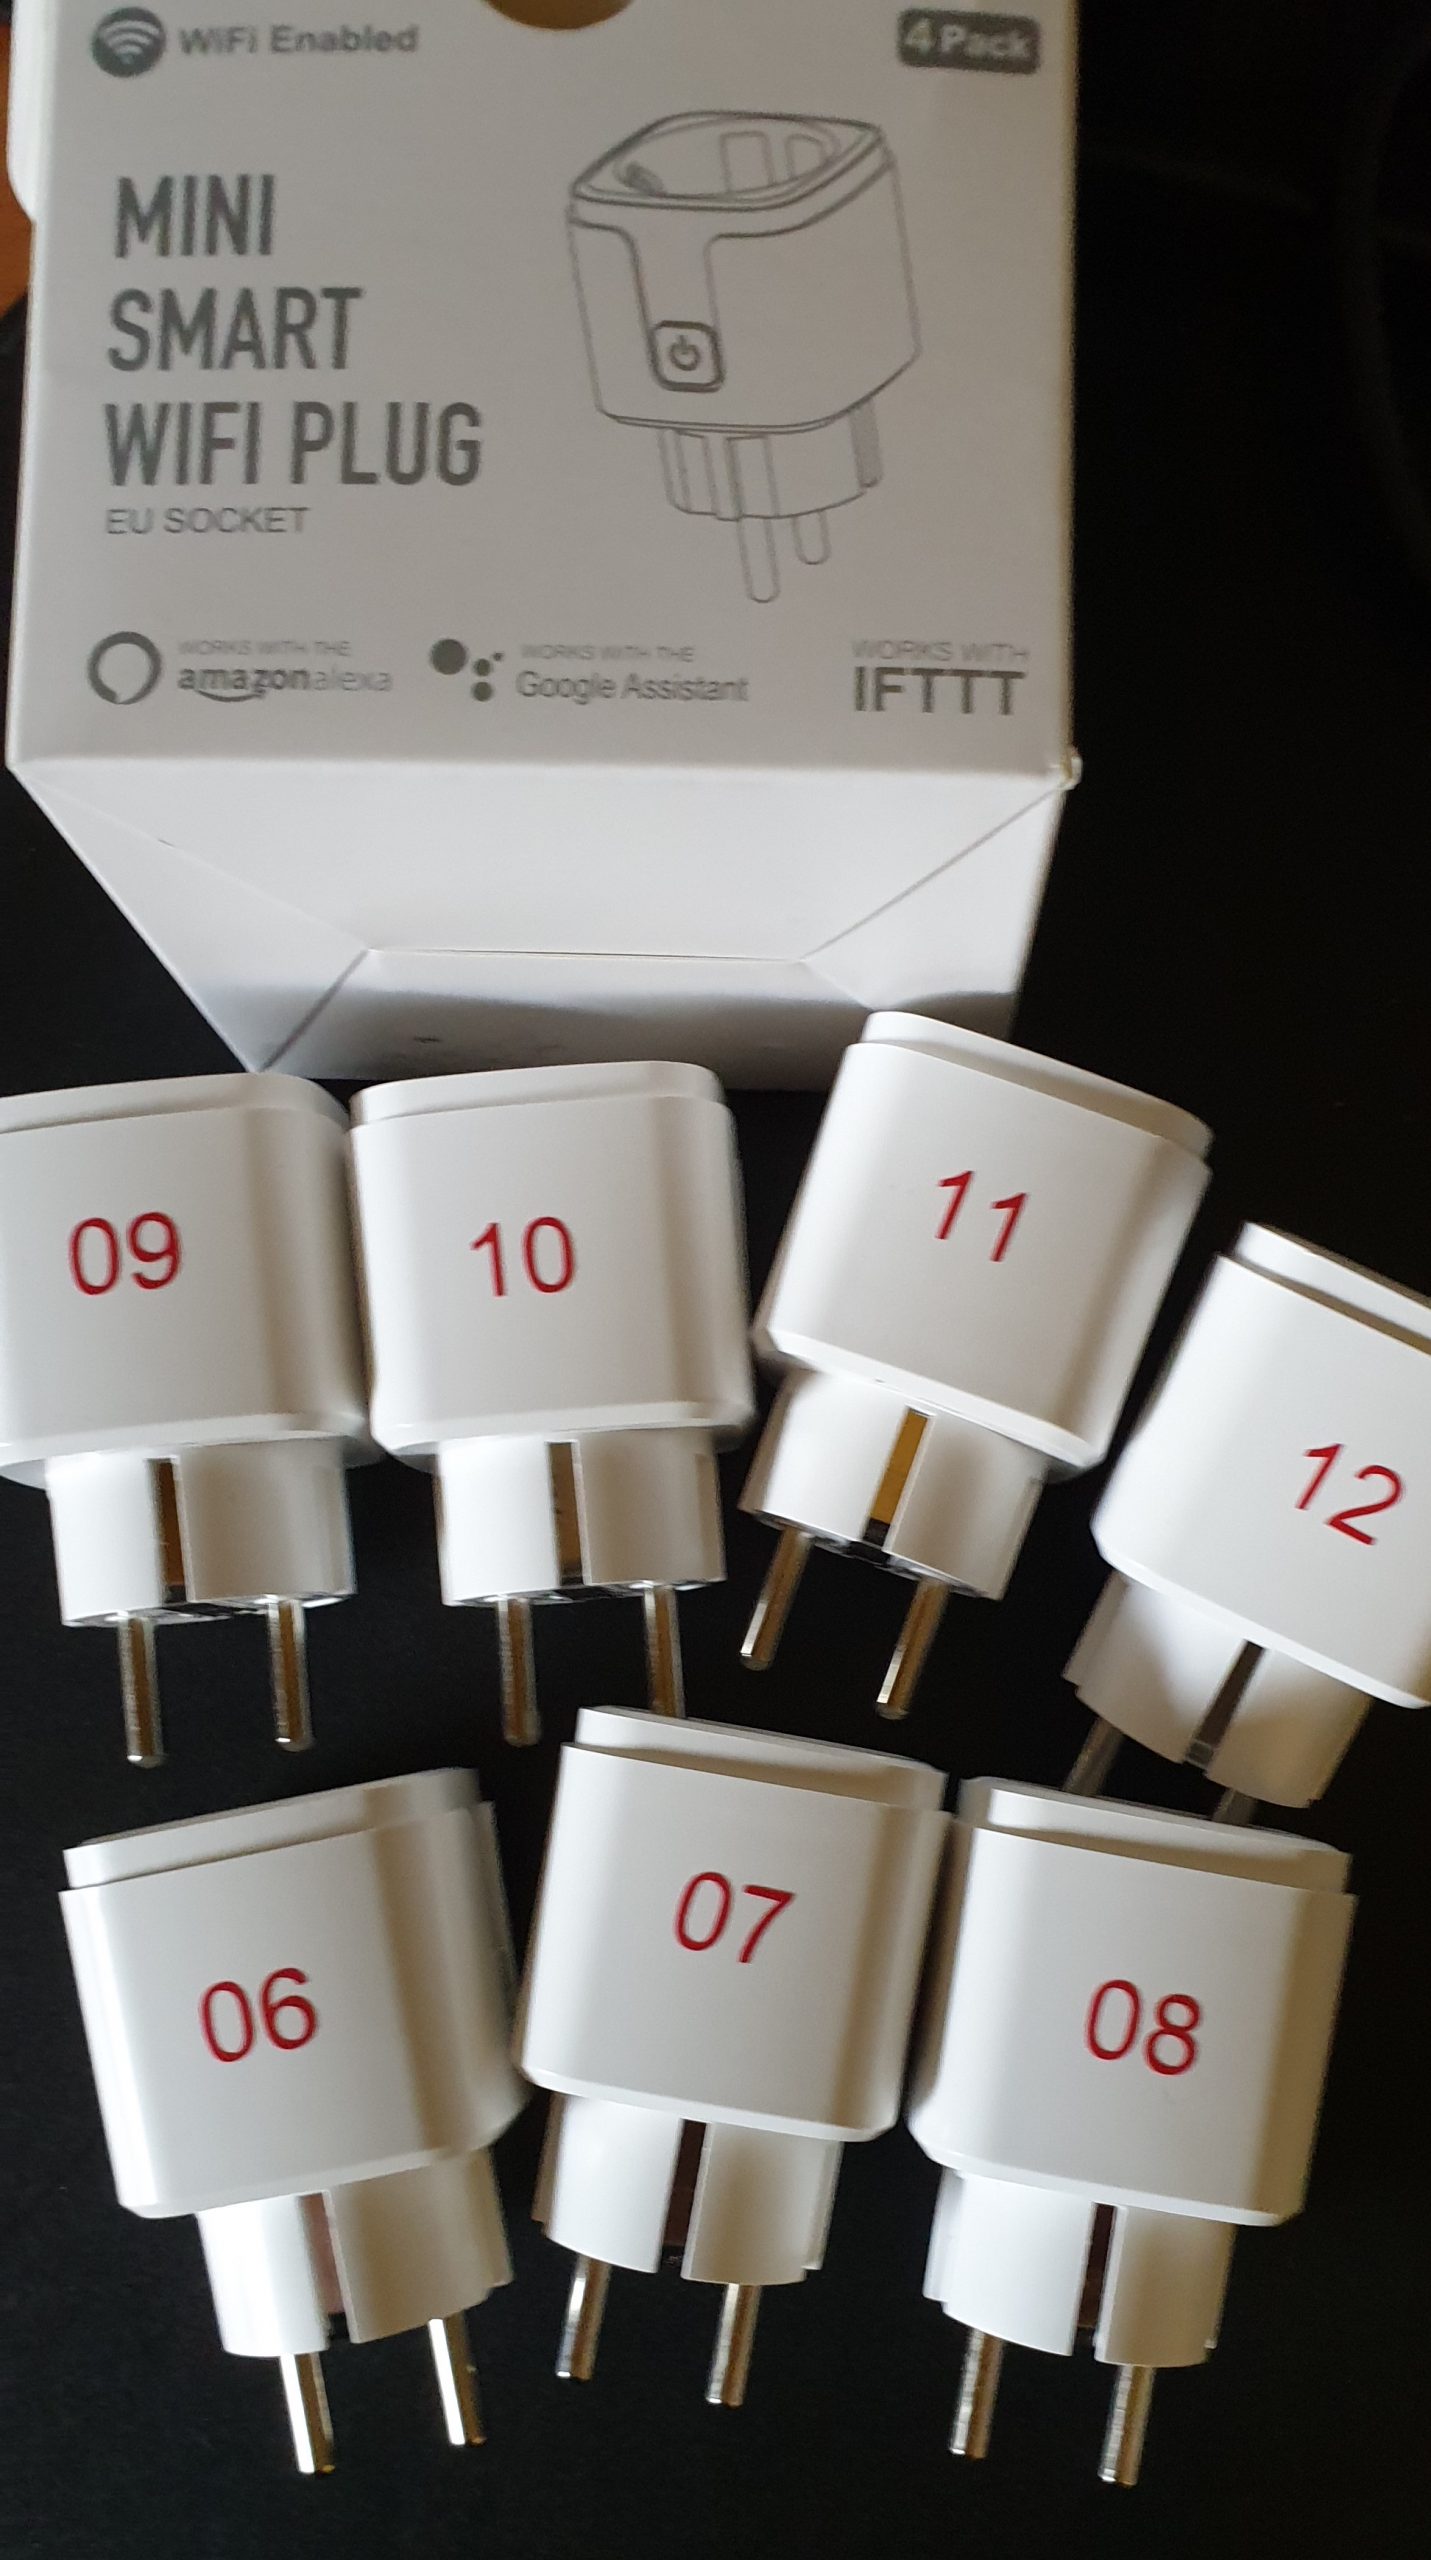
Don’t they look nice?
The End
So, this is how I flashed my Avatar power plugs with Tasmota, did the setup and added them to Home Assistant. Looks easy enough, doesn’t it?


